Want to quickly restrict access to an Azure Web App for a specific IP address or range? This short post has you covered.
- Login to your Azure portal and navigate to your web app
- Click "App Service Editor"

- Implement ipSecurity within your web.config. Below shows how to restrict a single IP address and an IP range
<location path="Default Web Site">
  <system.webServer>
    <security>
      <ipSecurity>
        <add ipAddress="xxx.xxx.xxx.xxx" />
        <add ipAddress="xxx.xxx.xxx.xxx" subnetMask="255.255.0.0" />
       </ipSecurity>
    </security>
  </system.webServer>
</location>
Azure App Service Access Restrictions
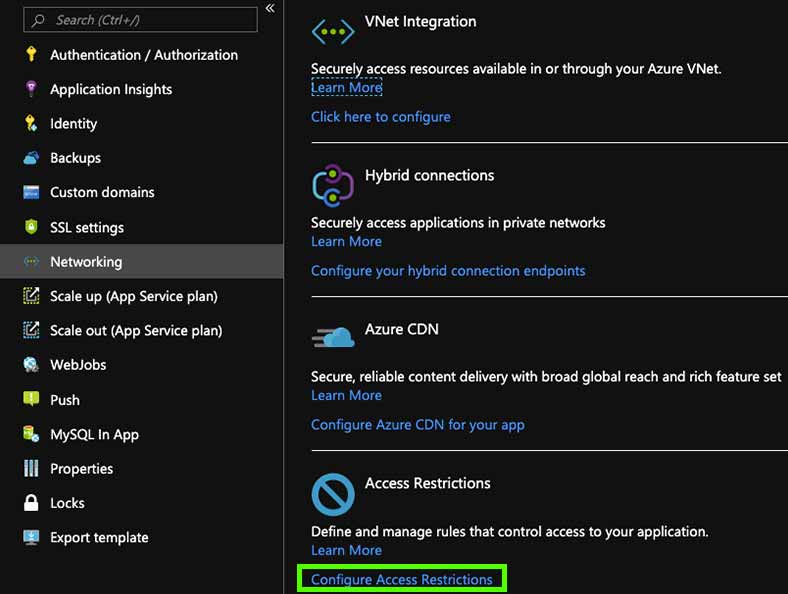
The recommended method for restricting access to a web app is by defining a priority ordered allow/deny list using Access Restrictions. Your list can include IP addresses or Azure Virtual Network subnets. Access Restrictions can be configured within the Networking blade.

Your custom list will automatically include an appended deny all. Rules are enforced immediately in priority order starting from the lowest number and going up. This effectively guides you through a best practise of denying all traffic and only allowing through your targeted audience. Therefore, if you wanted to allow an exact address or range you would enter an IP using CIDR notation in the form of 1.2.3.4/32 where the first four octets represent your IP address and /32 is the mask.

To flip this flow and allow all traffic except a designated IP / range then you would set an allow rule for the whole internet using 0.0.0.0/0 and then higher priority deny rules.


